Interacting with the BP_PickupCube Objects after we pick it up.
- Jonathan Bardwell
- Dec 1, 2020
- 4 min read
For this tutorial, I'm going to be modifying the BP_PickupCube provided with the UE4 VR template. I'm also using 4.25.3 but this should work in any version of the engine. The first thing we need to do is create two new user inputs. Within UE4's Project Setting. I'm using the Oculus Touch controllers for this example but you can select the device your using and use the input for that instead.
To add new inputs go to Edit > Project settings > Input under the Engine header and expand Action Mappings. This is where we will add our new inputs.

To add new inputs select the big + to the right of Action Mappings. this will create a new box. Were going to name the first one "TriggerLeft" and the box bellow it saying "none" we need to set to our controller's button, in the case I'm going to be using "Oculus Touch (L) Trigger"
I'm then going to repeat this process to create an input called Trigger Right using the "Oculus Touch (R) Trigger"

Once you've set them both up it should look like the image above. If your targeting multiple platforms, you can add more device inputs by selecting the + next to the name you added.
We can now close the project settings window, were now going to add some functions to our pre-existing "PickupActorInterface" which is already in our Blueprints folder.

after opening our PickupActorInterface we are going to need to add two new functions. To do this press the + to the right of Functions and name the first function "Interact". Repeat this and name the second "Stop Interact".

We can now close the "PickupActorInterface" window as we don't need it anymore. We now need to open up our "BP_Pickup" so we can add our newly created PickupActorInterface" events.
In the Event Graph find an empty space, right-click and search "Event Interact" and add it to the graph. You're then going to repeat this for our "Event StopInteract" should look like the image below.

To make sure our events work later were going to add a print string to each event. you can name this anything you want as its just to make sure the events are firing correctly.

With this complete, we can now go to the "MotionControllerPawn" Blueprint and open it up This is where we are going to add our small amount of code. The reason I add our actual input events here is for organisation and its much better to keep all our events in the same location so we can have them do different things later on.
When adding my interact inputs I like to put them nearby to our existing "GrabLeft" and "GrabRight" Inputs. Here we're going to add in our custom inputs that we created in our Project settings earlier on.

To do this we right-click and search for "Event TriggerRight" and add it to the graph. do the same for "Event TriggerLeft"
With both of our events in the graph, we're going to copy both the left controller and right controller variables which you can see connected to the Grab actor and release actor nodes in the image above.
Your graph should now look like the image bellow.

The next thing we need to do is add our Interact and stop interact messages which will tell our grabbed actor to fire. in the graph, right-click and search for "interact(Message)" and add it to the graph. Do the same for stop interact.

You're going to connect Trigger "Pressed" to the interact node and released to "stopinteract" then duplicate them so there attached to the Trigger right event as well. It should look like the image below.

The last thing we need to do now is drag off our "Left Controller" and "Right Controller" variables and get "Attached Actor" plugging them into the "Target" of our "interact" and "StopInteract Nodes".

Your event graph should now look like the image below.

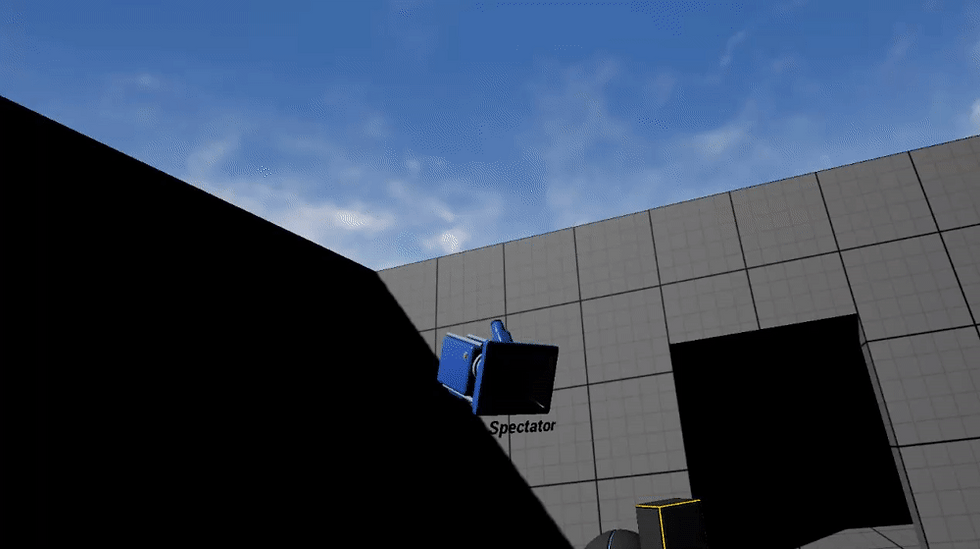
We can now test our code by using VR Preview. When you grab any BP_PickupCube you can now press the trigger and you should be able to see the print string we added earlier fire.

And that's how you can implement individual trigger events based on the hand holding the object.
If you want to take your project to the next level why not check out my other blog post showing how to set up custom hand animations.
https://www.jonathanbardwell.co.uk/post/creating-and-implementing-custom-hand-animations-for-vr-in-ue4-part-1
If this helped why not head over to my Patreon where I have a variety of VR content available for download as well as one to one tutoring if you need help.
If you enjoyed this or found it useful please consider Subscribing to my Youtube channel where I post regular VR Tutorials for Unreal Engine 4 and Blender.
or if you're looking for somewhere to hand out or need help with something VR, Game dev or 3D related maybe consider joining our growing discord community of over 300+ Vr developers.
Until next time, stay safe and I'll see you then.
Bye.


Comments